A Guide to Downloading Images from a Database using Node.js

Introduction: In this tutorial, we’ll explore how to download images from a MongoDB database using Node.js. We’ll walk through setting up a Node.js project, connecting to a MongoDB database, defining a schema for image URLs, and creating a script to download and save images locally.
Prerequisites: Before we begin, ensure you have the following:
- Basic knowledge of JavaScript and Node.js.
- Node.js installed on your machine.
- Access to a MongoDB database with a collection containing image URLs.
Step 1: Set Up Your Project: Let’s start by setting up our Node.js project. Open your terminal and execute the following commands:
mkdir image-downloader
cd image-downloader
npm init -y
Next, install the required dependencies:
npm install mongoose
Step 2: Connect to MongoDB: Create a file named dbConnect.js inside a config directory to handle the MongoDB connection:
// config/dbConnect.js
const mongoose = require('mongoose');
const connectDB = async () => {
try {
await mongoose.connect('mongodb://localhost:27017/your-database-name', {
useNewUrlParser: true,
useUnifiedTopology: true,
});
console.log('MongoDB Connected');
} catch (error) {
console.error('Error connecting to MongoDB:', error);
process.exit(1);
}
};
module.exports = connectDB;
Make sure to replace 'mongodb://localhost:27017/your-database-name' with your actual MongoDB connection URL.
Step 3: Define the Member Model: Create a file named member.js inside a model directory to define the schema for your Member model:
// model/member.js
const mongoose = require('mongoose');
const memberSchema = new mongoose.Schema({
image: String,
});
const Member = mongoose.model('Member', memberSchema);
module.exports = Member;
Step 4: Download Images: Now, let’s create a script named downloadImages.js in the root directory of our project:
// downloadImages.js
const Member = require('./model/member');
const initDB = require('./config/dbConnect');
const fs = require('fs');
const https = require('https');
initDB();
async function downloadImage() {
try {
console.log('DB Member fetching images...');
const members = await Member.find({});
console.log('DB Member fetched');
console.log(members);
const ImageUrls = members.map((member) => member.image);
console.log('Downloading images...');
await Promise.all(
ImageUrls.map(async (url, index) => {
const imageName = url.split('/').pop();
const file = fs.createWriteStream(`public/members/${imageName}`);
https
.get(url, (response) => {
response.pipe(file);
file.on('finish', () => {
file.close();
console.log(`Image ${index} downloaded as ${imageName}`);
});
})
.on('error', (err) => {
fs.unlink(`public/members/${imageName}`);
console.error(`Error downloading image: ${err.message}`);
});
})
);
} catch (error) {
console.error(error);
process.exit(1);
}
}
downloadImage();
Step 5: Run the Script: Execute the following command in your terminal to start downloading the images:
node downloadImages.js
This script fetches image URLs from the MongoDB database, downloads each image using HTTPS, and saves them in the public/members directory.
Conclusion: Congratulations! You’ve successfully created a script to download images from a MongoDB database using Node.js. Feel free to integrate this script into your Node.js applications to handle image downloads efficiently.

> Written by
Emdadul Islam
Software Engineer. View profile →
Read more
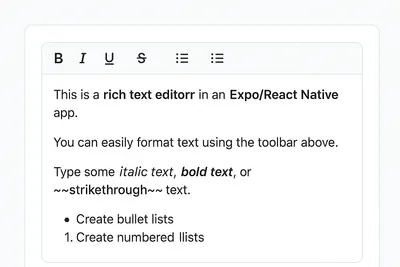
How to Add a Native Rich Text Editor in Expo / React Native (No WebView)
Rich text editing in React Native has always been tricky — especially when you want native performance instead of relying on WebViews. Most available libraries work great for the web, but fall short on mobile. That’s where [expo-rte](https://github.c...
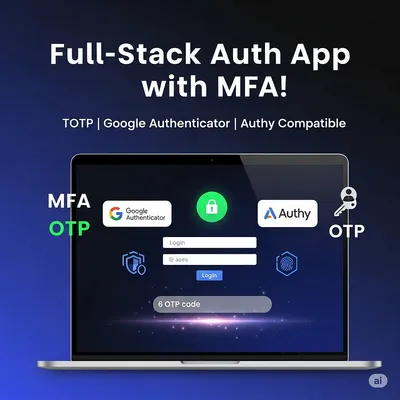
How to Implement Multi-Factor Authentication (MFA) with TOTP in Your Web Application
In today’s digital landscape, securing user accounts with just a password isn’t enough. Multi-Factor Authentication (MFA) adds an essential layer of security by requiring users to provide two or more verification factors. In this comprehensive guide,...
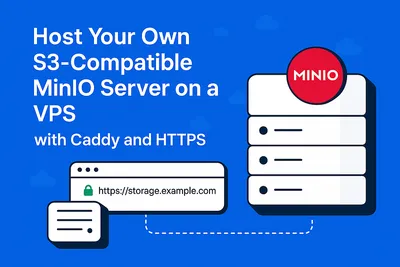
Host Your Own S3-Compatible MinIO Server on a VPS with Caddy and HTTPS
Host Your Own S3-Compatible MinIO Server on a VPS with Caddy and HTTPS Want to self-host object storage like AWS S3 but on your own VPS? Say hello to MinIO — a blazing-fast, S3-compatible storage solution. In this guide, we’ll show you how to install...