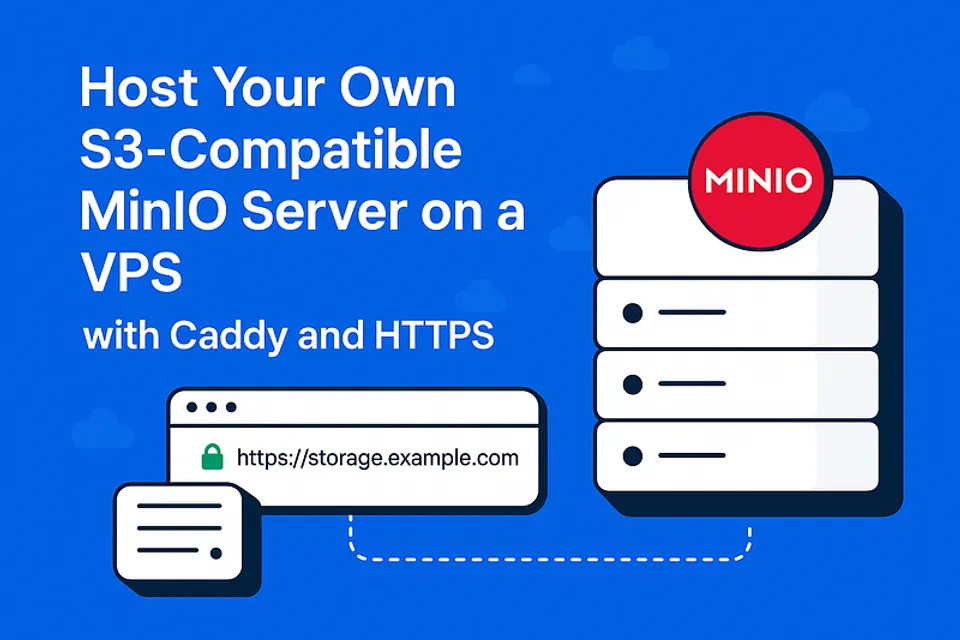
Host Your Own S3-Compatible MinIO Server on a VPS with Caddy and HTTPS
Host Your Own S3-Compatible MinIO Server on a VPS with Caddy and HTTPS
Want to self-host object storage like AWS S3 but on your own VPS? Say hello to MinIO — a blazing-fast, S3-compatible storage solution. In this guide, we’ll show you how to install and secure MinIO using Caddy with automatic HTTPS, and host it under a custom subdomain.
What You’ll Need
- A fresh Linux VPS (Ubuntu 20.04+ recommended)
- Root access or a sudo user
- A domain with DNS control
- A subdomain (e.g.,
storage.yourdomain.com) pointing to your VPS IP
Step 1: Install MinIO
- Create a
miniouser:
sudo useradd -r minio-user -s /sbin/nologin
2. Download and install MinIO:
wget https://dl.min.io/server/minio/release/linux-amd64/minio
chmod +x minio
sudo mv minio /usr/local/bin/
3. Create directories:
sudo mkdir -p /usr/local/share/minio
sudo mkdir -p /etc/minio
sudo chown -R minio-user:minio-user /usr/local/share/minio /etc/minio
4. Create environment file:
sudo nano /etc/minio/minio.env
Add:
MINIO_ROOT_USER\=admin
MINIO_ROOT_PASSWORD\=strongpassword
Step 2: Setup MinIO Systemd Service
sudo nano /etc/systemd/system/minio.service
paste:
[Unit]
Description\=MinIO
After\=network-online.target
[Service]
User\=minio-user
Group\=minio-user
EnvironmentFile\=/etc/minio/minio.env
ExecStart\=/usr/local/bin/minio server /usr/local/share/minio --console-address ":9001"
Restart\=always
LimitNOFILE\=65536
[Install]
WantedBy\=multi-user.target
Then enable and start:
sudo systemctl daemon-reexec
sudo systemctl enable minio
sudo systemctl start minio
Step 3: Point Your Subdomain
Go to your domain DNS provider and create an A record:
storage.yourdomain.com → your VPS IP
Wait a few minutes for it to propagate.
Step 4: Install & Configure Caddy (with HTTPS)
- Install Caddy:
sudo apt install -y debian-keyring debian-archive-keyring apt-transport-https
curl -1sLf 'https://dl.cloudsmith.io/public/caddy/stable/gpg.key' | sudo tee /etc/apt/trusted.gpg.d/caddy-stable.asc
curl -1sLf 'https://dl.cloudsmith.io/public/caddy/stable/debian.deb.txt' | sudo tee /etc/apt/sources.list.d/caddy-stable.list
sudo apt update
sudo apt install caddy
2. Edit Caddyfile:
sudo nano /etc/caddy/Caddyfile
Paste:
storage.yourdomain.com {
handle_path /minio/* {
reverse_proxy localhost:9000
}
handle_path /* {
reverse_proxy localhost:9001
}
}
Replace
yourdomain.comwith your actual domain.
3. Restart Caddy:
sudo systemctl restart caddy
Caddy will automatically fetch SSL certificates and handle HTTP→HTTPS redirects 🎉
Step 5: Test It!
- Visit:
[https://storage.yourdomain.com](https://storage.yourdomain.com) - Login with the credentials you set in
/etc/minio/minio.env
You Did It!
You now have your own secure, S3-compatible object storage running on your VPS with:
- MinIO as the storage engine
- Caddy for reverse proxy and HTTPS
- Your custom domain for easy access

> Written by
Emdadul Islam
Software Engineer. View profile →
Read more
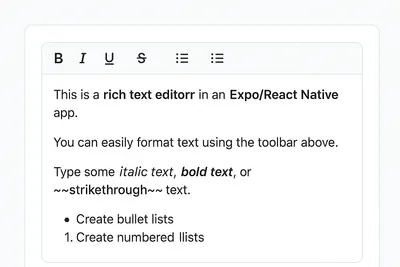
How to Add a Native Rich Text Editor in Expo / React Native (No WebView)
Rich text editing in React Native has always been tricky — especially when you want native performance instead of relying on WebViews. Most available libraries work great for the web, but fall short on mobile. That’s where [expo-rte](https://github.c...
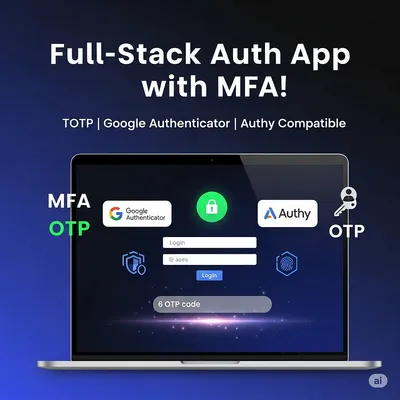
How to Implement Multi-Factor Authentication (MFA) with TOTP in Your Web Application
In today’s digital landscape, securing user accounts with just a password isn’t enough. Multi-Factor Authentication (MFA) adds an essential layer of security by requiring users to provide two or more verification factors. In this comprehensive guide,...

How to Add TanStack Query in Astro + React Project
Photo by Lautaro Andreani on Unsplash TanStack Query (formerly known as React Query) is a powerful tool for data fetching, caching, and synchronization in React applications. It simplifies handling server-side state in a predictable and efficient man...