Integrating OAuth with Google using the Devise Gem(ROR): Comprehensive Documentation

Photo by Mitchell Luo on Unsplash
Introduction
OAuth (Open Authorization) is an industry-standard protocol for authorization, enabling third-party applications to access user data without requiring the user to share their login credentials. In this documentation, we will guide you through the process of implementing OAuth using the google_oauth2 gem in a Ruby on Rails application with Devise for authentication.
Prerequisites
Before you begin, ensure that you have the following:
- Ruby installed on your machine (version 2.5 or higher)
- Ruby on Rails framework installed (version 5.0 or higher)
- An existing Ruby on Rails application
- Basic knowledge of Ruby on Rails and Devise gem
Step 1: Setup Google Developer Console
Before integrating OAuth with Google, you need to set up a project in the Google Developer Console and obtain credentials. Follow these steps:
- Visit the Google Developer Console and create a new project.
- Enable the Google+ API by navigating to the Library section and searching for “Google+ API.” Click on it and enable it for your project.
- Navigate to the Credentials section and click on the Create Credentials button. Choose OAuth client ID.
- Configure the OAuth client ID settings. Select Web Application as the application type.
- In the Authorized Redirect URIs field, enter the callback URL where Google will redirect the user after authentication. The format of the callback URL will be
http://localhost:3000/users/auth/google_oauth2/callback(replacelocalhost:3000with your actual domain and port). - Save the OAuth client ID and secret generated by Google. You will need these later in your Rails application.
Step 2: Add ‘google_oauth2’ Gem to Your Gemfile
To integrate OAuth with Google in your Rails application, you need to add the google_oauth2 gem to your Gemfile and install it using Bundler. Follow these steps:
- Open your application’s Gemfile using a text editor.
- Add the following line to the Gemfile:
gem 'omniauth-google-oauth2'
3. Save the file and close it.
4.Open your terminal or command prompt and navigate to your application’s directory.
5. Run the following command to install the gem:
$ bundle install
Step 3: Configure Devise for OAuth
Next, you need to configure Devise to work with OAuth using the google_oauth2 gem. Follow these steps:
- Open the file
config/initializers/devise.rb. - Locate the
config.omniauthblock and uncomment it (remove the leading '#' character). - Modify the
config.omniauthblock to include the following lines:
config.omniauth :google_oauth2, 'GOOGLE_CLIENT_ID', 'GOOGLE_CLIENT_SECRET', { access_type: 'offline', prompt: 'consent' }
Replace 'GOOGLE_CLIENT_ID' and 'GOOGLE_CLIENT_SECRET' with the credentials obtained from the Google Developer Console.
4. Save the file.
Step 5: Implement
the OmniauthCallbacksController Now, you need to create a controller to handle the OAuth callback. Follow these steps:
- Create a new file called
app/controllers/users/omniauth_callbacks_controller.rb. - Define the
OmniauthCallbacksControllerclass and inherit fromDevise::OmniauthCallbacksController. Implement the callback method as follows:
class Users::OmniauthCallbacksController < Devise::OmniauthCallbacksController
def google_oauth2
@user = User.from_omniauth(request.env['omniauth.auth'])
if @user.persisted?
sign_in_and_redirect @user, event: :authentication
set_flash_message(:notice, :success, kind: 'Google') if is_navigational_format?
else
redirect_to new_user_registration_url
end
end
end
In this example, the User.from_omniauth method is responsible for finding or creating a user based on the OAuth response.
3. Save the file.
Step 6: Implement the User Model Method
To handle the user creation or authentication based on the OAuth response, you need to implement a method in your User model. Follow these steps:
- Open the file
app/models/user.rb. - Add the following code to define the
from_omniauthmethod:
class User < ApplicationRecord
# ...
def self.from_omniauth(auth)
where(provider: auth.provider, uid: auth.uid).first_or_create do |user|
user.email = auth.info.email
user.password = Devise.friendly_token[0, 20]
# Additional user attributes can be set here based on the auth response
end
end
# ...
end
This example creates a new user with the provided email and generates a random password if a user with the same provider and UID combination does not already exist.
3. Save the file.
Step 7: Update User Views
Finally, you need to update your user views to include a link or button to trigger the OAuth authentication process. Follow these steps:
- Open the view file where you want to place the OAuth authentication link/button (e.g.,
app/views/devise/sessions/new.html.erb). - Add the following code to include the link/button:
<%= link_to "Sign in with Google", user_google_oauth2_omniauth_authorize_path %>
You can style this link/button according to your application’s design.
3. Save the file.
Conclusion
Congratulations! You have successfully implemented OAuth with the Google Devise gem in your Ruby on Rails application. Users can now authenticate with their Google accounts using OAuth. You can further customize the user model and views to suit your application’s needs. Refer to the Devise and omniauth-google-oauth2 documentation for more advanced usage and customization options.

> Written by
Emdadul Islam
Software Engineer. View profile →
Read more
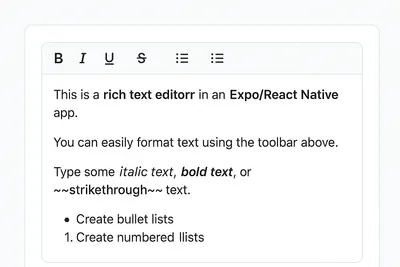
How to Add a Native Rich Text Editor in Expo / React Native (No WebView)
Rich text editing in React Native has always been tricky — especially when you want native performance instead of relying on WebViews. Most available libraries work great for the web, but fall short on mobile. That’s where [expo-rte](https://github.c...
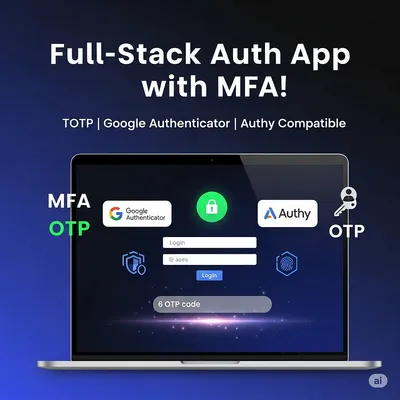
How to Implement Multi-Factor Authentication (MFA) with TOTP in Your Web Application
In today’s digital landscape, securing user accounts with just a password isn’t enough. Multi-Factor Authentication (MFA) adds an essential layer of security by requiring users to provide two or more verification factors. In this comprehensive guide,...
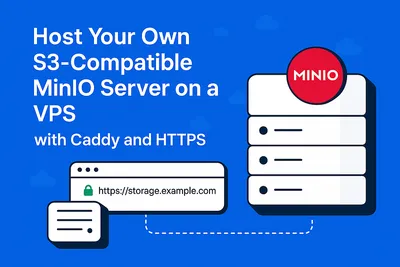
Host Your Own S3-Compatible MinIO Server on a VPS with Caddy and HTTPS
Host Your Own S3-Compatible MinIO Server on a VPS with Caddy and HTTPS Want to self-host object storage like AWS S3 but on your own VPS? Say hello to MinIO — a blazing-fast, S3-compatible storage solution. In this guide, we’ll show you how to install...