How to Deploy an AI Agent with Amazon Bedrock
Learn how to build, test, and deploy an AI agent with Amazon Bedrock AgentCore, from local setup to production deployment on AWS.
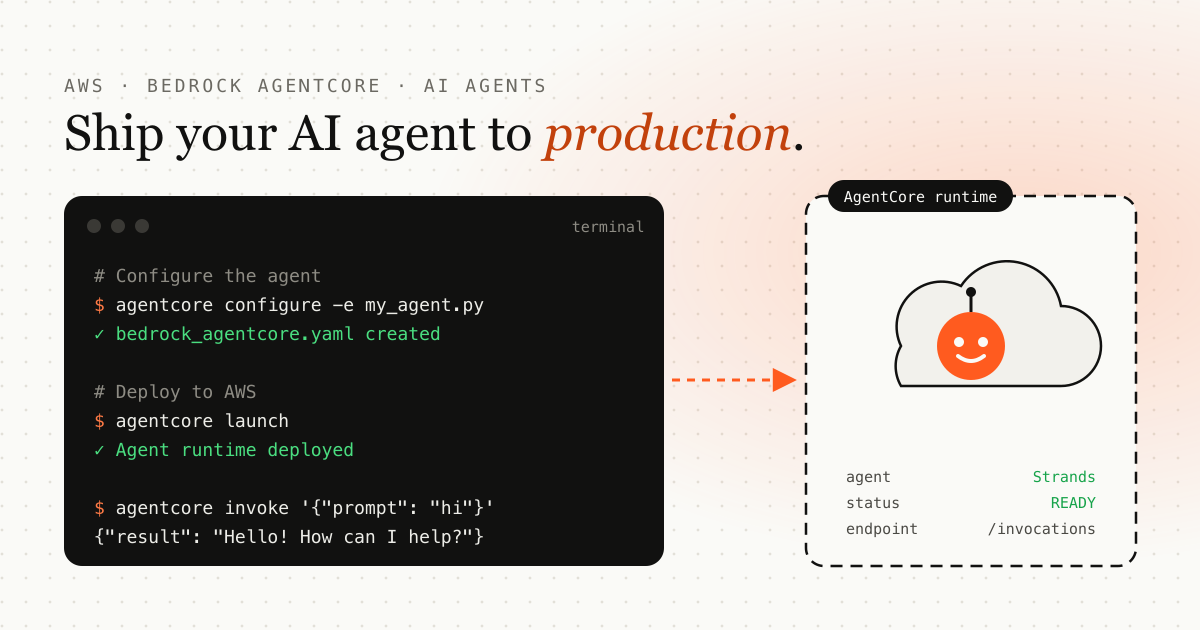
TL;DR: write a small Strands agent, test it locally with curl, then run agentcore configure and agentcore launch to deploy it on Amazon Bedrock AgentCore. Invoke it with agentcore invoke or the AWS SDK.
Amazon Bedrock AgentCore is a managed service that makes it easier to build, deploy, and operate AI agents securely at scale on AWS. It works seamlessly with frameworks like Strands Agents, LangGraph, CrewAI, and LlamaIndex, while taking care of the complex tasks such as runtime management, IAM role configuration, and observability.
In this guide, you’ll set up your environment, create and test a simple AI agent locally, deploy it with the AgentCore starter toolkit, and invoke it through the AWS SDK.
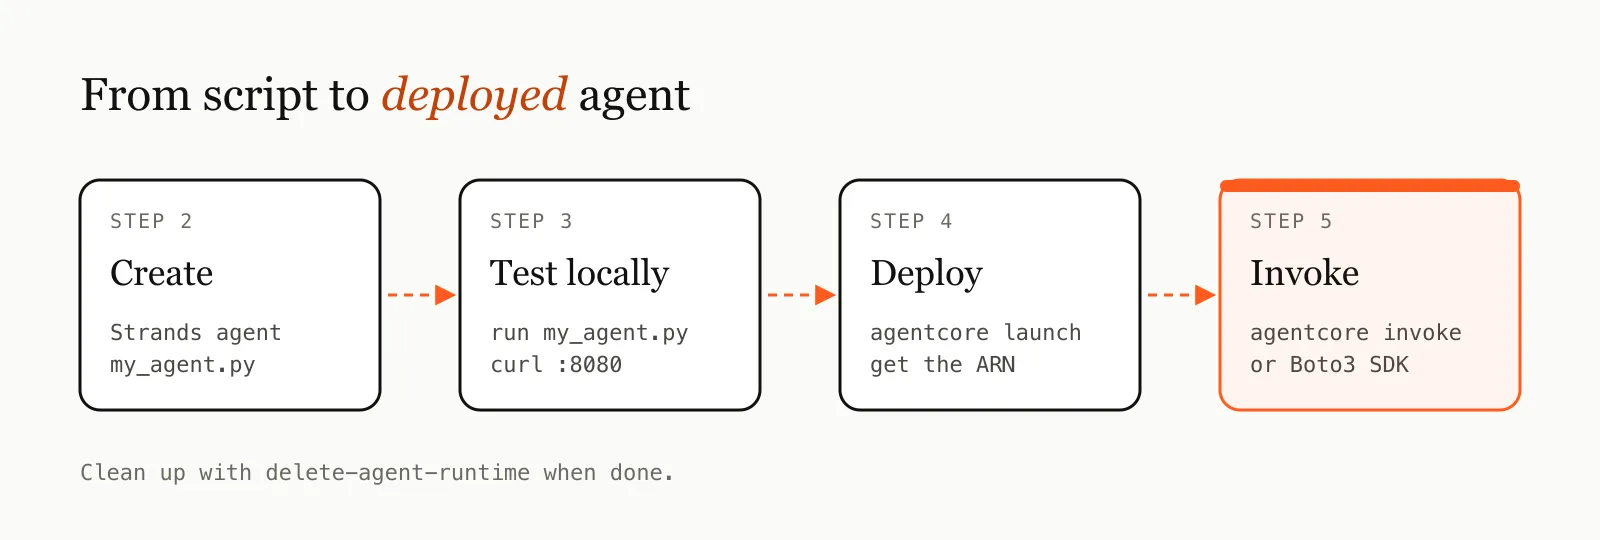
Prerequisites
Before you start, make sure you have:
- An AWS account with credentials configured.
- AWS CLI installed and working.
- Python 3.10 or later installed.
- Boto3 installed.
- Model access enabled in the Amazon Bedrock console (for example, Anthropic Claude Sonnet 4.0).
Step 1: Set Up AWS CLI
First, install the AWS CLI if you do not already have it. On Linux or macOS: AWS CLI setup guide.
Next, configure a profile with AWS SSO:
aws configure sso --profile my-profileYou’ll be prompted to enter details such as:
-
SSO start URL – the URL for your AWS organization’s IAM Identity Center portal.
-
SSO region – the AWS region where IAM Identity Center is configured.
-
Account ID – the AWS account you want to access.
-
Role name – the IAM role you want to assume within that account.
-
Default region – the region that will be used when making requests.
-
Default output format – for example,
json,yaml, ortable.
This creates a new profile called my-profile in your AWS CLI configuration, allowing you to use that identity to interact with AWS services.
Next, you have to verify your identity. Once your profile is configured, confirm that the CLI is correctly authenticating with AWS by running:
aws sts get-caller-identity --profile my-profileThis command returns details about your identity, including:
-
Account – the AWS account ID you’re authenticated against.
-
UserId – the unique identifier of your IAM role or user.
-
Arn – the full Amazon Resource Name (ARN) of your identity.
If the command succeeds and shows your account information, it means your profile is properly set up and ready to use with AWS SDKs, the AWS CLI, or services like Bedrock AgentCore.
Step 2: Install and Create Your Agent
First, you need to set up Python virtual environment. This prevents dependency conflicts with other projects on your machine.
Let’s create and activate a virtual environment:
On macOS/Linux:
python3 -m venv .venv
source .venv/bin/activate
On Windows (PowerShell or CMD):
python -m venv .venv
.venv\Scripts\activate-
python -m venv .venv→ creates a virtual environment named.venvin your project folder. -
.venv\Scripts\activate→ activates the environment.
Once activated, your terminal prompt will show (.venv) at the beginning. To deactivate:
deactivateCreate a requirements.txt file
List the dependencies your project needs by creating a file named requirements.txt in the project root:
bedrock-agentcore
strands-agents
This makes it easy to install everything at once with:
pip install -r requirements.txtCreate a file called my_agent.py and add the following code:
from bedrock_agentcore import BedrockAgentCoreApp
from strands import Agent

app = BedrockAgentCoreApp()
# Create an agent with default settings
agent = Agent()

@app.entrypoint
def invoke(payload):
    """Your AI agent function"""
    user_message = payload.get("prompt", "Hello! How can I help you today?")
    result = agent(user_message)
    return {"result": result.message}

if __name__ == "__main__":
    app.run()
Breaking Down the Code
-
BedrockAgentCoreApp– the core runtime wrapper that handles configuration, execution, and integration with AWS services. -
Agent– a basic agent object from the Strands library that can process and respond to prompts. -
BedrockAgentCoreApp()creates the container application that manages your agent’s lifecycle. -
Agent()initializes a simple Strands agent with default settings. In a real-world case, you can customize this with specific tools, memory, or reasoning logic. -
The
@app.entrypointdecorator marks this function as the callable entry point for your agent. Whenever a request is sent to the agent (via the AWS SDK, CLI, or local test), this function is invoked. -
The agent looks for a
"prompt"in the incoming payload. -
If no prompt is provided, it defaults to
"Hello! How can I help you today?". -
The
Agentobject then processes this input and generates a response.
Step 3: Test the Agent Locally
Run the agent:
python3 -u my_agent.pyOpen another terminal and send a request:
curl -X POST http://localhost:8080/invocations \
  -H "Content-Type: application/json" \
  -d '{"prompt": "Hello!"}'
If successful, you will see:
{"result": "Hello! I'm here to help..."}You can stop the agent with Ctrl+C.
Step 4: Deploy to AgentCore Runtime
Now you are ready to deploy your agent to AWS.
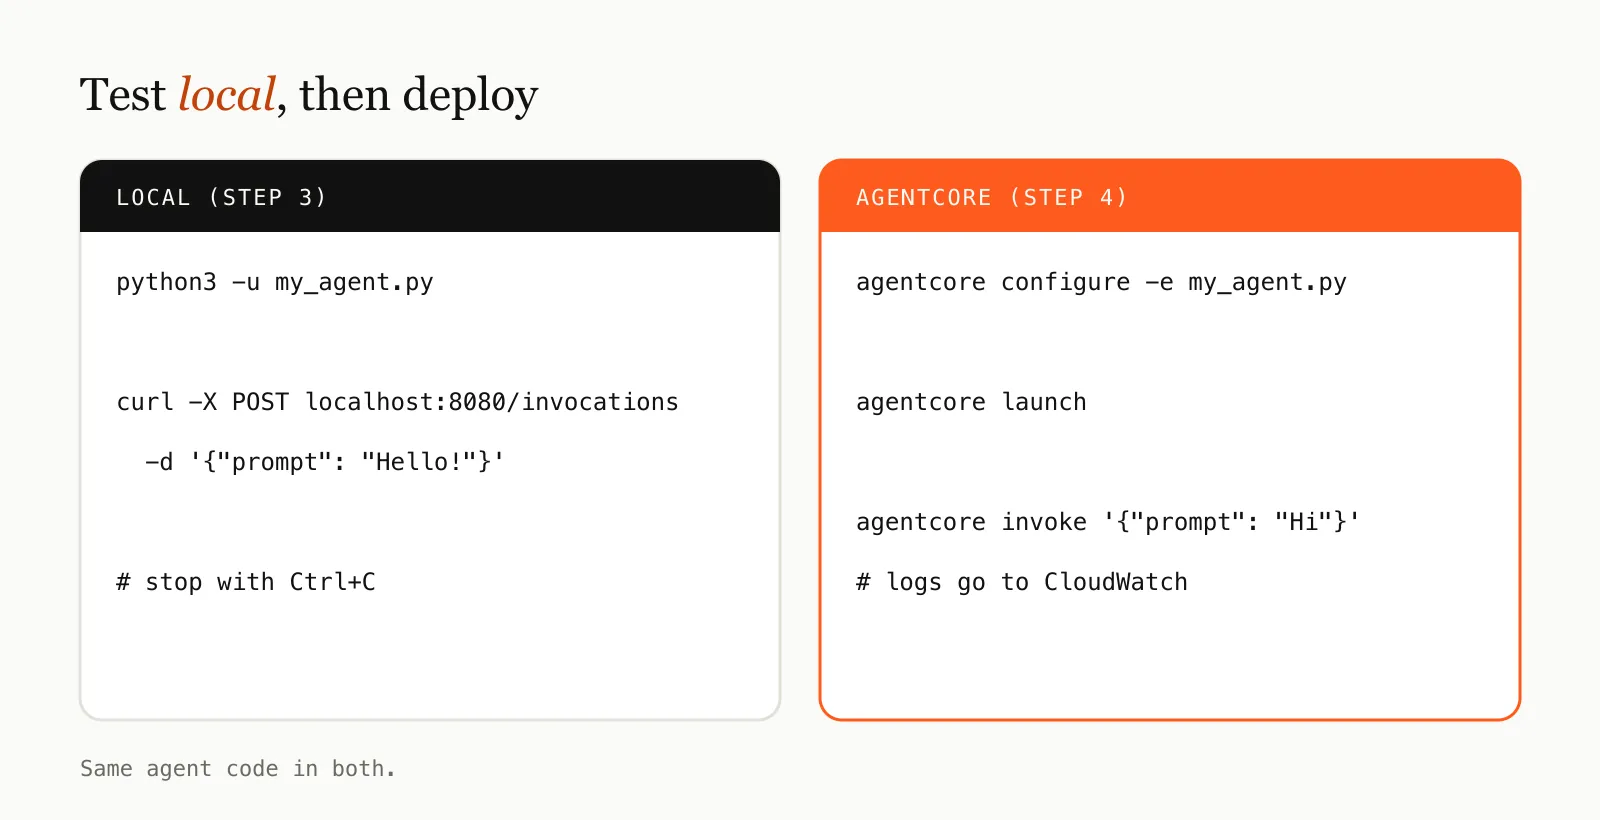
Configure the agent:
agentcore configure -e my_agent.pyThis creates a configuration file called bedrock_agentcore.yaml.
You can launch the deployment with this command:
agentcore launchThe output will include:
-
The Amazon Resource Name (ARN) of your agent.
-
The location of logs in Amazon CloudWatch.
Test your deployed agent:
agentcore invoke '{"prompt": "tell me a joke"}'If you get a joke back, your agent is running successfully.
Step 5: Invoke the Agent with AWS SDK
You can call your agent programmatically using Boto3. Create a file called invoke_agent.py:
import json
import boto3

agent_arn = "YOUR_AGENT_ARN"
prompt = "Tell me a joke"

agent_core_client = boto3.client("bedrock-agentcore")

payload = json.dumps({"prompt": prompt}).encode()

response = agent_core_client.invoke_agent_runtime(
    agentRuntimeArn=agent_arn,
    payload=payload
)

content = []
for chunk in response.get("response", []):
    content.append(chunk.decode("utf-8"))
print(json.loads("".join(content)))
Run the script:
python invoke_agent.pyYou should see the AI agent’s response.
Step 6: Clean Up
If you no longer want to run the agent, delete the runtime:
aws bedrock-agentcore delete-agent-runtime --agent-runtime-arn <your_arn>Common Issues
-
Permission denied: Check your AWS credentials and IAM policies.
-
Docker warning: Ignore this unless you use — local or — local-build.
-
Model access denied: Enable model access (such as Claude Sonnet 4.0) in the Bedrock console.
-
Build errors: Check CloudWatch build logs and IAM policies.
Conclusion
Amazon Bedrock AgentCore makes it easy to create and deploy AI agents without dealing with complex container setups or infrastructure. You can test locally, launch to the cloud with one command, and monitor everything through CloudWatch.
This workflow is ideal for developers who want to move from prototype to production quickly while staying inside the AWS ecosystem.
Resources
Once your agent calls external services, make them resilient. See timeouts, retries and circuit breakers for slow APIs.
Frequently asked questions
What is Amazon Bedrock AgentCore?
A managed AWS service for building, deploying and operating AI agents at scale. It handles runtime management, IAM roles and observability, and works with frameworks like Strands Agents, LangGraph, CrewAI and LlamaIndex.
Do I need Docker to deploy an agent with AgentCore?
Not for the default cloud deployment. The Docker warning only matters if you use local or local-build deployment modes.
How do I delete a deployed AgentCore agent?
Run aws bedrock-agentcore delete-agent-runtime with your agent runtime ARN, as shown in the clean-up step.
Emdadul Islam
I build web, mobile and backend products, and write up what I learn along the way: the bugs, the trade-offs and the fixes that held up in production. More about me →
Next article
How to Add a Native Rich Text Editor in Your Expo App
Add a fast, fully native rich text editor to your Expo or React Native app using expo-rte, no WebView required, with formatting, toolbars, and undo/redo.