Setting Up Husky, ESLint, and Prettier in a Node.js Application
Configure Husky, lint-staged, ESLint, and Prettier in a Node.js app to lint and format code automatically on every commit.
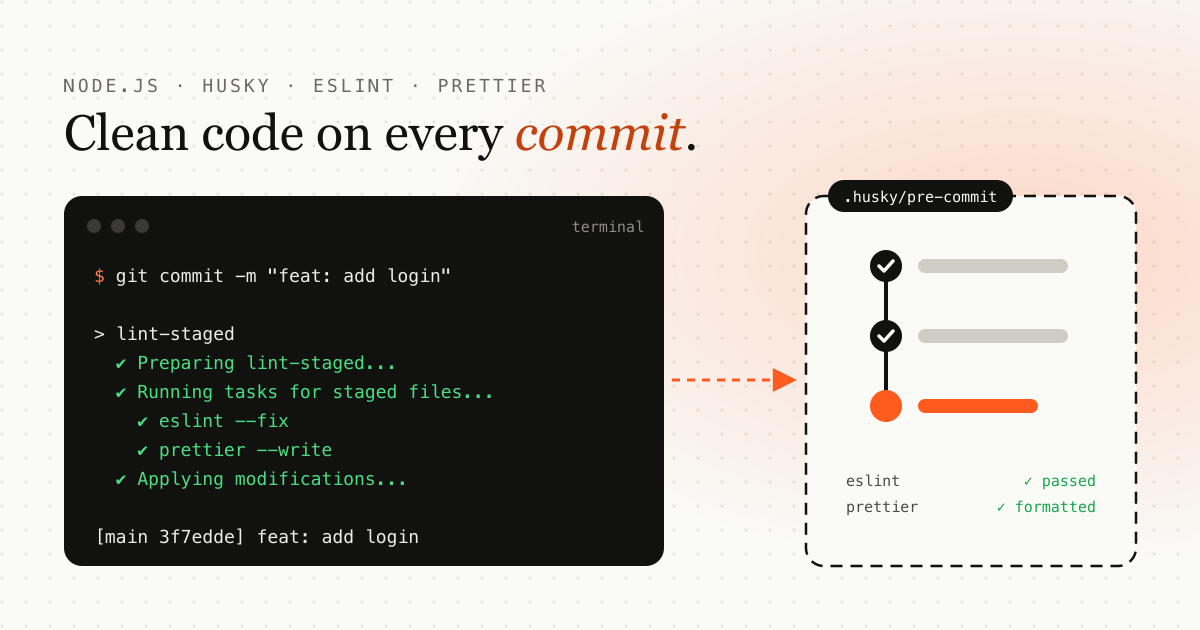
Photo by Pakata Goh on Unsplash
TL;DR: install husky, lint-staged, eslint and prettier, run npx husky init, and make the pre-commit hook run npx lint-staged. Every commit then lints and formats the staged files automatically.
In this tutorial you’ll set up Husky, lint-staged, ESLint and Prettier in a Node.js application. Together they keep code quality consistent, enforce your coding standards and stop broken code from being committed.
Prerequisites
Node.js18 or later, withnpm. Download it from nodejs.org.Gitinstalled, because Husky works through Git hooks.
Step 1: Create a Node.js project
If you don’t have a project yet:
mkdir my-node-app
cd my-node-app
git init
npm init -y
Add "type": "module" to your package.json so the config files below can use import syntax.
Step 2: Install the dependencies
npm install --save-dev eslint @eslint/js globals prettier husky lint-stagedStep 3: Configure ESLint
Create an eslint.config.js file in the project root. Current ESLint versions use this flat config format:
import js from '@eslint/js';
import globals from 'globals';

export default [
  js.configs.recommended,
  {
    languageOptions: {
      ecmaVersion: 2022,
      sourceType: 'module',
      globals: globals.node,
    },
    rules: {
      // Your custom rules here
    },
  },
];
Step 4: Configure Prettier
Create a .prettierrc.json file with your preferred formatting options:
{
  "singleQuote": true,
  "trailingComma": "es5",
  "tabWidth": 2
}
Step 5: Configure Husky and lint-staged
Initialize Husky. This creates a .husky/pre-commit file and adds a prepare script to package.json:
npx husky initReplace the contents of .husky/pre-commit with:
npx lint-stagedThen tell lint-staged what to run by adding this to your package.json:
{
  "lint-staged": {
    "*.js": ["eslint --fix", "prettier --write"]
  }
}
Step 6: Create sample code
Create an index.js file in the project root:
const greeting = 'Hello, world!';
console.log(greeting);
Step 7: Test the setup
- Make sure you’re in the project’s root directory.
- Edit
index.jsto introduce a linting error, for example by declaring an unused variable. - Stage and commit the change:
git add index.js
git commit -m "Test commit"
Husky runs lint-staged, ESLint fixes what it can and Prettier formats the file. If ESLint finds an error it can’t fix, the commit is blocked until you fix it.
Advanced configuration
To go further, you can:
- Extend your ESLint rules in
eslint.config.js. - Explore more Prettier options in
.prettierrc.json. - Add more commands to
lint-staged, such as a type check or your test runner. - Run the same checks in CI so a skipped hook never lets bad code through.
Conclusion
You now have Husky, lint-staged, ESLint and Prettier working together in your Node.js application. They enforce consistent code quality on every commit and make the project easier for you and your team to work in. If you’re picking APIs for your next project, see 20 awesome APIs for development projects.
Frequently asked questions
What does Husky do?
Husky runs scripts on Git hooks. In this setup it runs lint-staged before every commit, so code that fails linting never reaches your repository.
Why use lint-staged with Husky?
lint-staged runs ESLint and Prettier only on the files you staged. That keeps pre-commit checks fast, even in large projects.
How do I skip the Husky pre-commit hook once?
Run git commit with the --no-verify flag. Use it rarely, because it skips every check.
Emdadul Islam
I build web, mobile and backend products, and write up what I learn along the way: the bugs, the trade-offs and the fixes that held up in production. More about me →