Host Your Own S3-Compatible MinIO Server on a VPS with Caddy and HTTPS
Self-host S3-compatible object storage with MinIO on a VPS, secured with automatic HTTPS via Caddy on a custom subdomain.
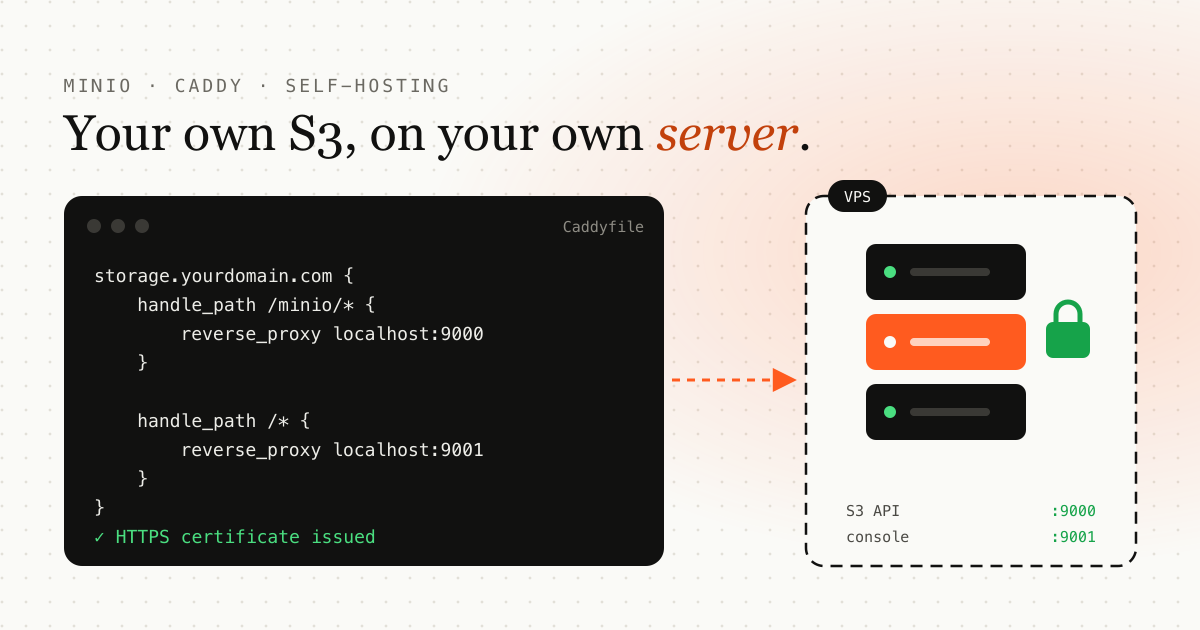
TL;DR: install the MinIO binary, run it as a systemd service, point a subdomain at your VPS and put Caddy in front of it. You end up with S3-compatible object storage on your own server, served over HTTPS.
Want object storage like AWS S3 but on your own VPS? MinIO is a fast, S3-compatible storage server. In this guide you’ll install it, secure it with Caddy and automatic HTTPS, and host it under a custom subdomain.
What you’ll need
- A fresh Linux VPS (Ubuntu 20.04+ recommended)
- Root access or a sudo user
- A domain with DNS control
- A subdomain (for example
storage.yourdomain.com) pointing to your VPS IP
Step 1: Install MinIO
Create a minio-user account
sudo useradd -r minio-user -s /sbin/nologinDownload and install MinIO
wget https://dl.min.io/server/minio/release/linux-amd64/minio
chmod +x minio
sudo mv minio /usr/local/bin/
Create directories
sudo mkdir -p /usr/local/share/minio
sudo mkdir -p /etc/minio
sudo chown -R minio-user:minio-user /usr/local/share/minio /etc/minio
Create the environment file
sudo nano /etc/minio/minio.envAdd your credentials, and use a strong password of your own:
MINIO_ROOT_USER=admin
MINIO_ROOT_PASSWORD=strongpassword
Step 2: Set up the MinIO systemd service
sudo nano /etc/systemd/system/minio.servicePaste:
[Unit]
Description=MinIO
After=network-online.target

[Service]
User=minio-user
Group=minio-user
EnvironmentFile=/etc/minio/minio.env
ExecStart=/usr/local/bin/minio server /usr/local/share/minio --console-address ":9001"
Restart=always
LimitNOFILE=65536

[Install]
WantedBy=multi-user.target
Then enable and start it:
sudo systemctl daemon-reexec
sudo systemctl enable minio
sudo systemctl start minio
Step 3: Point your subdomain at the VPS
Go to your DNS provider and create an A record:
storage.yourdomain.com → your VPS IP
Wait a few minutes for it to propagate.
Step 4: Install and configure Caddy (with HTTPS)
Install Caddy
sudo apt install -y debian-keyring debian-archive-keyring apt-transport-https
curl -1sLf 'https://dl.cloudsmith.io/public/caddy/stable/gpg.key' | sudo tee /etc/apt/trusted.gpg.d/caddy-stable.asc
curl -1sLf 'https://dl.cloudsmith.io/public/caddy/stable/debian.deb.txt' | sudo tee /etc/apt/sources.list.d/caddy-stable.list
sudo apt update
sudo apt install caddy
Edit the Caddyfile
sudo nano /etc/caddy/CaddyfilePaste:
storage.yourdomain.com {
    handle_path /minio/* {
        reverse_proxy localhost:9000
    }

    handle_path /* {
        reverse_proxy localhost:9001
    }
}
Replace
yourdomain.comwith your actual domain.
Restart Caddy
sudo systemctl restart caddyCaddy automatically fetches SSL certificates and redirects HTTP to HTTPS.
Step 5: Test it
- Visit
https://storage.yourdomain.com. - Log in with the credentials you set in
/etc/minio/minio.env.
You did it
You now have secure, S3-compatible object storage on your VPS with:
- MinIO as the storage engine
- Caddy for the reverse proxy and HTTPS
- Your own domain for easy access
Next, protect the services that use this storage. See how to add TOTP multi-factor authentication to a full-stack app.
Frequently asked questions
Is MinIO compatible with the AWS S3 API?
Yes. MinIO implements the S3 API, so most S3 SDKs and tools work by pointing them at your MinIO endpoint.
Why use Caddy in front of MinIO?
Caddy gets and renews TLS certificates automatically, redirects HTTP to HTTPS and proxies requests to MinIO, so you don't manage certificates by hand.
Which ports does MinIO use?
In this setup the S3 API listens on port 9000 and the web console on port 9001. Caddy exposes them over HTTPS on your subdomain.
Emdadul Islam
I build web, mobile and backend products, and write up what I learn along the way: the bugs, the trade-offs and the fixes that held up in production. More about me →
Next article
Implementing MFA (TOTP) Authentication in a Full-Stack Web App
A step-by-step guide to adding Time-based One-Time Password (TOTP) multi-factor authentication to a full-stack web application.